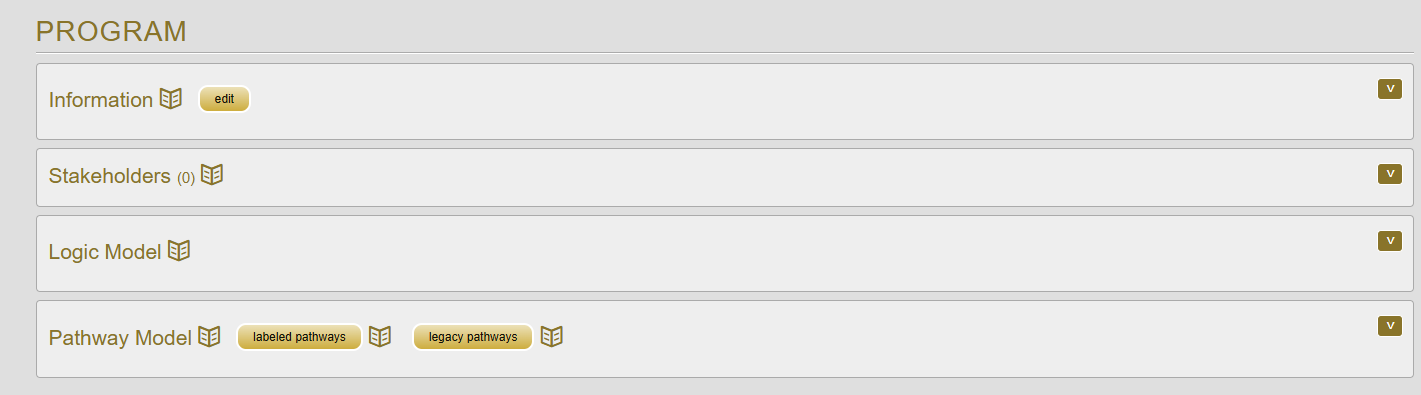
From your Program page, find the Stakeholder Map panel in the PROGRAM group, alongside Information, Logic Model, and Pathway Model. Click on it to expand.
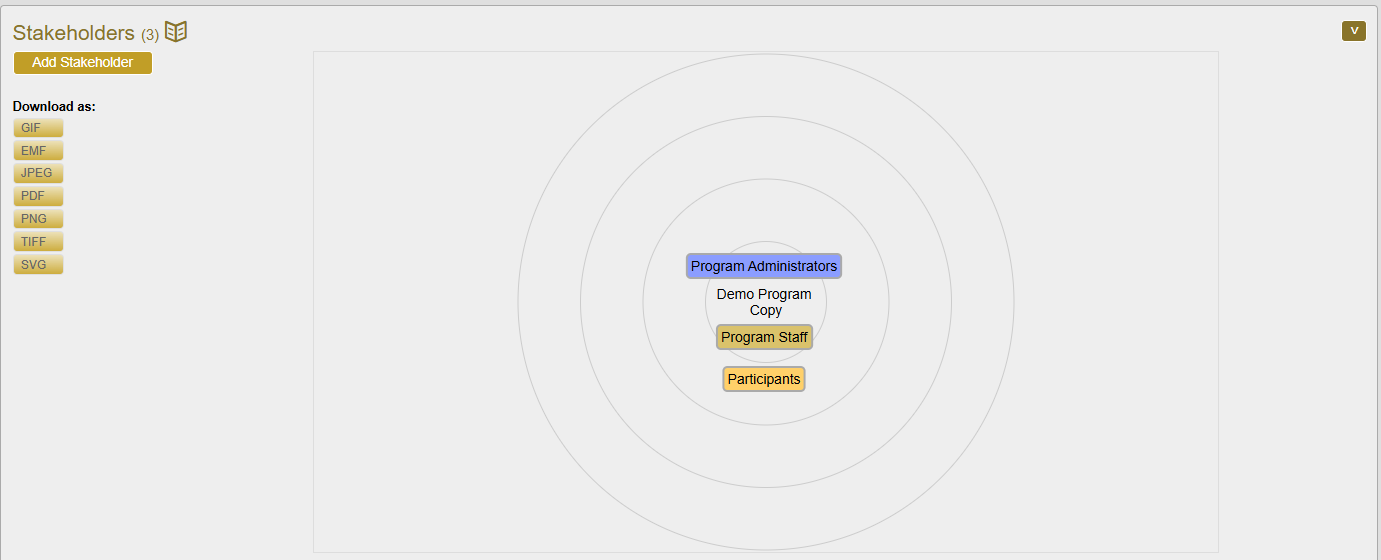
The stakeholder map appears in the center of the panel. On the left is an Add Stakeholders button and a set of buttons for downloading the map in different file formats.
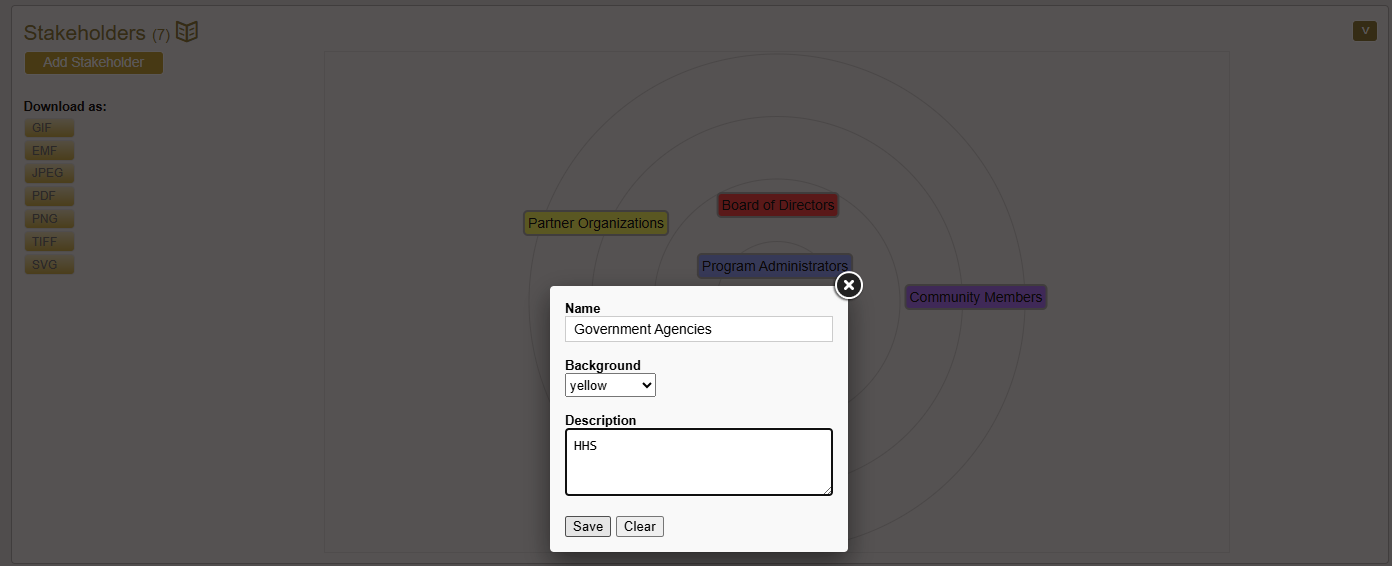
Click on the Add Stakeholder button. Type in a stakeholder name and description (optional), assign it a color if you so choose, and click “save.” Once saved, you can click and drag the stakeholder to where you want it on the map. The map has a visible border — stakeholders can’t be dragged outside it, so nothing gets lost off the edge. You can edit any stakeholder by clicking in the middle of its shape and the original dialog window will reopen. To delete an existing stakeholder just click on the X in the upper right corner.
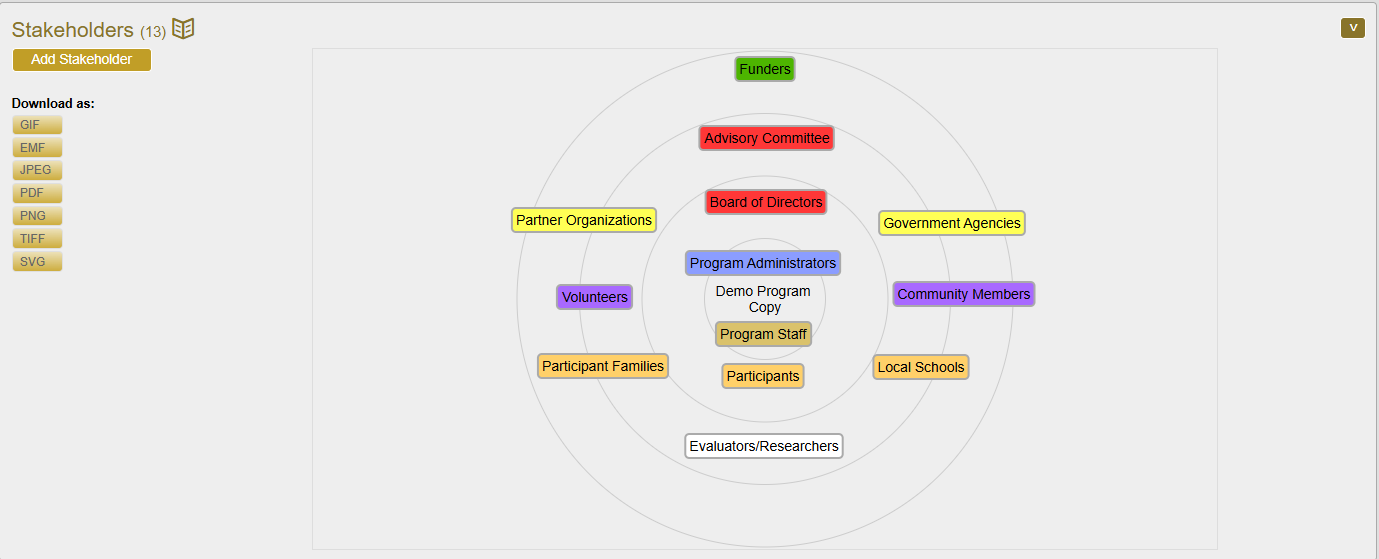
A fully populated stakeholder map will show all key stakeholder groups with those most closely related to the operations of the program near the middle and those less involved in operations closer to the periphery. Note that the proximity to the center doesn’t necessarily mean that a stakeholder group is more important, and a group near the outer circle isn’t necessarily less important or crucial to the program – proximity only suggests how much the stakeholder group participates in day-to-day operations of the program.
When you’re done, collapse the panel — your stakeholders stay exactly where you placed them.
See Guidance resources in the Stakeholder Analysis for information on identifying stakeholders and their perspectives.